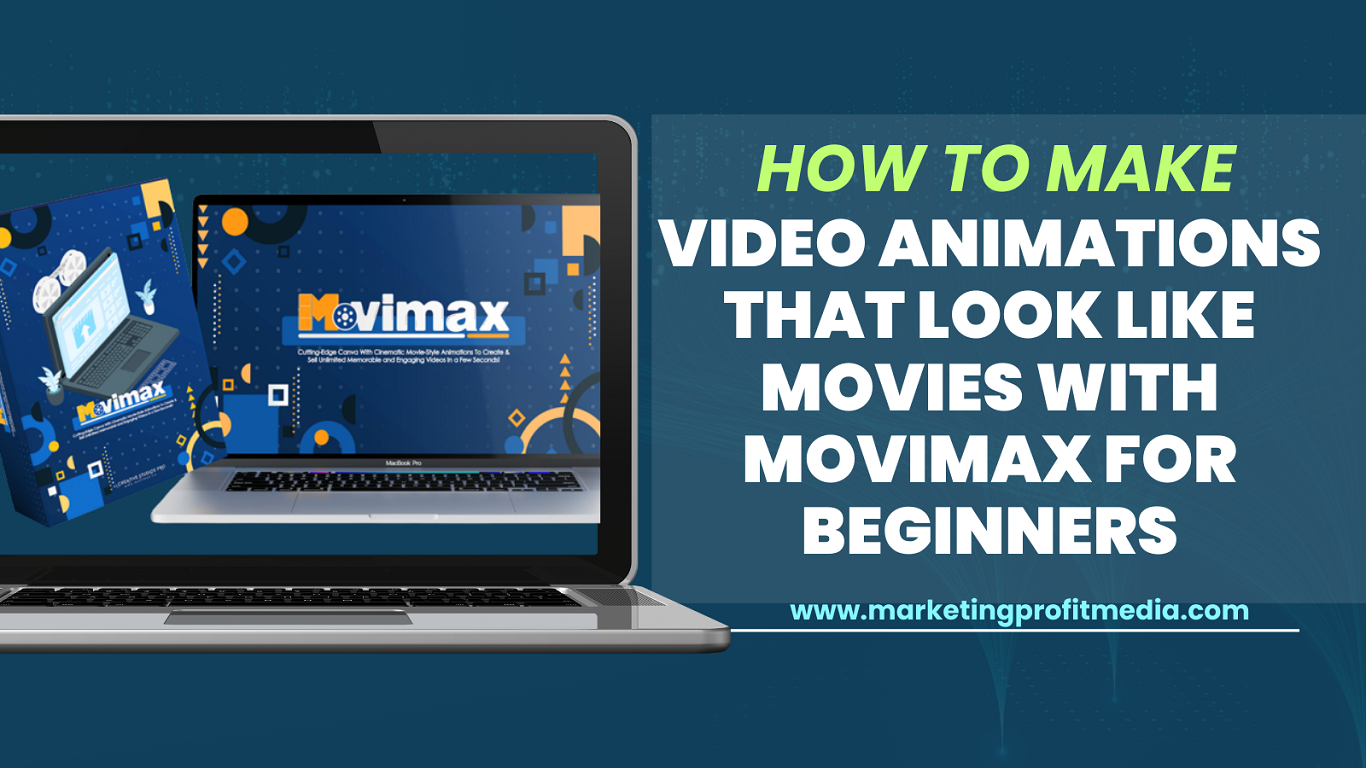
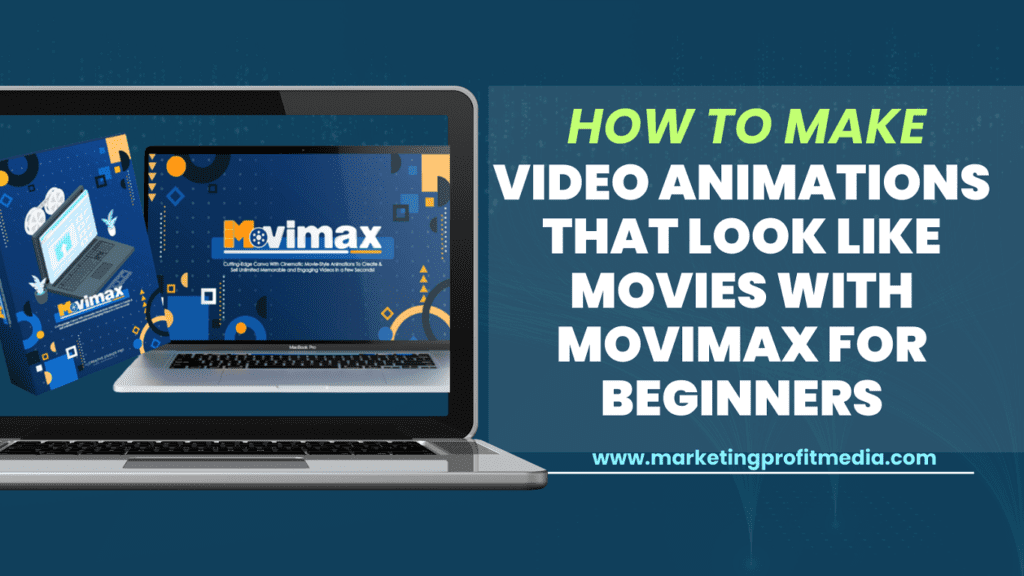
Are you an aspiring filmmaker or content creator who dreams of making video animations that rival the big-budget movies you see in theaters? You’ve come to the right place. In this comprehensive guide, we will walk you through the fascinating world of creating video animations that look like movies, and we’ll do it with MoviMax, an amazing tool perfect for beginners.
My Best Recommended & Proven Way to Make $100 Daily – Watch THIS FREE Training to START >>
Making video animations is an art that combines creativity and technology. With the right tools and techniques, anyone can create animations that captivate audiences and leave them in awe. This article is designed to help beginners take their first steps into this exciting realm with MoviMax.
We will break down the process into easy-to-follow steps, offer practical tips, and explore how MoviMax can be your trusted companion on this creative journey. From storyboarding to adding special effects, we’ve got you covered.
Table of Contents
| Sr# | Headings |
| 1 | What is MoviMax? |
| 2 | Getting Started with MoviMax |
| 3 | Storyboarding: Your Animation Blueprint |
| 4 | Creating Characters and Objects |
| 5 | Bringing Your Story to Life |
| 6 | Adding Sound and Music |
| 7 | Fine-Tuning Your Animation |
| 8 | Special Effects: Elevating Your Animation |
| 9 | Exporting and Sharing Your Masterpiece |
| 10 | Conclusion |
Now, let’s dive into each section in detail.
What is MoviMax?
MoviMax is a new tool that lets you and your customers create stunning cinematic movies and commercials for any company in three easy steps! MoviMax lets you create and advertise stunning cinematic films and commercials that boost leads, sales, and profits. The most appealing part? A free Canva account is all you need, no technical skills or expensive software! Cinema-inspired MoviMax video templates are captivating. Canva lets you easily alter and change these templates to quickly create and share high-quality social media content. Stop beginning from scratch, spending money on production, and struggling with complicated video editing programs! MoviMax simplifies everything, letting you create and distribute stunning cinematic films in three easy steps:
Step 1: Login & Select Template Access your Canva account, log in, and pick a template from MoviMax that aligns with your specific needs and preferences.
Step 2: Edit Template with Canva Easily modify the template using Canva’s user-friendly interface. Replace images and text as per your requirements.
Step 3: Export & Sell Export the finalized file and seamlessly promote it on your social media platforms or within your business network.
Step 1: Getting Started with MoviMax
Getting started with MoviMax is a breeze. As you embark on your animation journey, you’ll find a user-friendly interface that welcomes you with intuitive icons and easy-to-navigate features. MoviMax simplifies the creative process, making it accessible for beginners. Here’s how to begin your animation journey:
- Open MoviMax: Launch the software on your computer.
- Start a New Project: Click on “New Project” to create a new animation.
- Import Your Assets: You can import images, audio, and other resources to use in your animation.
- Storyboard: Plan your animation by creating a storyboard. This will be your roadmap throughout the project.
Step 2: Storyboarding: Your Animation Blueprint
Storyboarding is the crucial blueprint of your animation. It’s where your ideas take shape, scenes are mapped out, and the narrative unfolds visually. This step ensures your animation flows smoothly and your vision comes to life. Think of it as the backbone of your project. Here’s how you can make the most out of it:
- Visualize Your Story: Sketch each scene and imagine how the characters will move and interact.
- Set the Scene: Determine the background, props, and lighting for each shot.
- Sequence Your Shots: Organize the scenes in chronological order to ensure a smooth flow.
My Best Recommended & Proven Way to Make $100 Daily – Watch THIS FREE Training to START >>
Step 3: Creating Characters and Objects
Creating characters and objects is where your animation gains personality and depth. MoviMax provides a versatile library of pre-made characters and objects that can be customized to suit your storyline. Or, you can start from scratch, infusing your unique creativity into every character, adding life and vibrancy to your animations.
- Character Design: Choose or design your characters. Give them names, personalities, and unique features.
- Object Selection: Select or create objects needed for your story.
- Customization: Personalize characters and objects to match your vision.
Step 4: Bringing Your Story to Life
Bringing your story to life is the heart of animation. With MoviMax, your characters and objects come to life with fluid, lifelike movements. The animation timeline provides precise control, while frame-by-frame animation ensures smooth transitions between scenes. This is where your vision becomes a dynamic reality.
- Animation Timeline: Create a timeline to control the movement and actions of your characters and objects.
- Frame-by-Frame Animation: Animate frame by frame to achieve smooth and lifelike movements.
- Transitions: Add transitions between scenes for a professional touch.
Step 5: Adding Sound and Music
Adding sound and music elevates your animation, creating an immersive experience. MoviMax simplifies the process, allowing you to import background music, sound effects, and character voices. Syncing audio with on-screen actions is crucial for an engaging narrative. You can easily add audio to your animation with MoviMax.
- Import Audio: Import background music, sound effects, and character voices.
- Synchronization: Ensure that audio matches the actions on the screen.
- Sound Editing: Fine-tune audio to achieve the desired impact.
Step 6: Fine-Tuning Your Animation
Fine-tuning your animation is the stage where you polish your work to perfection. It involves a meticulous review of your project, addressing any areas that need improvement, whether it’s animation, audio, or effects. This step involves reviewing your work, making necessary adjustments, and adding finishing touches.
- Review: Watch your animation from start to finish and make note of any areas that need improvement.
- Editing: Make adjustments to the animation, audio, and effects as required.
- Polishing: Add any final touches like text overlays, credits, or transitions.
Step 7: Special Effects: Elevating Your Animation
Special effects are the icing on the cake for your animation. With MoviMax, you can easily apply filters to alter the mood, add text and titles for context, and even use the green screen effect for realistic backgrounds. These effects elevate your animation, adding depth and intrigue, making it visually captivating and engaging.
- Filters: Apply filters to change the mood and tone of your animation.
- Text and Titles: Add text and titles to provide context and narration.
- Green Screen: Use the green screen effect to create realistic backgrounds.
My Best Recommended & Proven Way to Make $100 Daily – Watch THIS FREE Training to START >>
Step 8: Exporting and Sharing Your Masterpiece
Exporting and sharing your masterpiece is the final step in your animation journey. MoviMax offers various export options, from video files to GIFs. You can then share your creation on social media, video-sharing platforms, or your website. Encourage feedback to improve your skills and let your masterpiece captivate and inspire a broader audience, it’s time to share it with the world.
- Export Options: MoviMax offers various export options, including video files and GIFs.
- Sharing Platforms: Share your animation on social media, video-sharing platforms, or your website.
- Feedback and Improvement: Encourage feedback from your audience to improve your skills.
FAQ
FAQ 1: Is MoviMax suitable for beginners?
Absolutely! MoviMax is designed with beginners in mind. Its user-friendly interface and straightforward tools make it the perfect choice for those who are new to animation.
FAQ 2: Can I use MoviMax on Mac and Windows?
Yes, MoviMax is compatible with both Mac and Windows operating systems. You can use it on your preferred platform.
FAQ 3: Are there any MoviMax tutorials online?
Certainly! You can find a wealth of tutorials and guides on MoviMax online. These resources will help you master the software and create amazing animations.
FAQ 4: How long does it take to create an animation with MoviMax?
The time required to create an animation with MoviMax depends on the complexity of your project and your level of expertise. Simple animations can be completed in a few hours, while more intricate ones may take several days.
FAQ 5: Can I monetize my MoviMax animations?
Yes, you can monetize your MoviMax animations. Once you’ve created compelling animations, you can share them on platforms like YouTube or sell them as part of your content. Monetization opportunities are indeed available.
Conclusion
In conclusion, creating video animations that look like movies with MoviMax is a fulfilling and creative endeavor. It empowers both beginners and experienced animators to unleash their creativity, turn visions into stunning animations, and captivate audiences. MoviMax’s user-friendly interface, versatile features, and simple navigation make the journey enjoyable and accessible. With MoviMax, you can let your imagination run wild and transform your ideas into captivating animations that entertain, educate, and inspire. So, embark on this exciting journey and let your creativity shine with MoviMax.
My Best Recommended & Proven Way to Make $100 Daily – Watch THIS FREE Training to START >>
Thanks for reading my article on “How to Make Video Animations That Look Like Movies with MoviMax for Beginners“, hope it will help!